
1. Research the software, audience and task
The first step is understanding what the product does, who will watch the video and what they need to achieve. A customer-facing demonstration created as part of a corporate video project will be structured differently from an internal training video for experienced staff, even when both demonstrate the same software.
We review anything that helps us understand the product and its context: your website, brochures, help documents, screenshots, existing videos, user feedback and brand guidelines. We also look at the starting knowledge of the audience and the point at which they are most likely to need the video.
Some clients arrive with a detailed knowledge base and established user journeys. Others have little written material. Either is workable. We use the information available and ask focused questions to fill the gaps.
2. Develop the script in a guided meeting
Next, we hold a script development meeting with the people who understand the product, the audience and the communication goal. We ask what the video must achieve, which task it should demonstrate, where users commonly get stuck and what viewers should do when the video finishes.
This conversation helps us separate essential steps from background information. It also gives subject-matter experts, marketing teams and approvers an early opportunity to agree on the scope before writing begins.
If a brief tries to introduce the platform, demonstrate every feature and answer every support question, a short walkthrough can quickly become difficult to follow. A focused video—or a short series—usually serves users better.
3. Write and approve the voiceover script
We then write the words that will be spoken in the finished video. The voiceover needs to sound natural while remaining precise enough to match actions on the screen. We avoid narrating every click when the action is already obvious and spend more time on decisions, warnings and details the viewer might otherwise miss.
You can share the draft with product owners, technical specialists, legal teams or anyone else who needs to approve it. Feedback is consolidated, missing information is added and the wording is refined until it is accurate, clear and comfortable to hear aloud.
Approving the voiceover before detailed production protects the budget. A small wording change can alter the length of a scene, the screen actions required and the timing of every graphic that follows it.
4. Turn the approved script into a storyboard
Once the voiceover is approved, we create a storyboard that connects each spoken line to what the viewer will see. One side contains the narration; the other describes the screen action, screenshot, label, graphic or transition that supports it.
The storyboard identifies where the pointer moves, which menu opens, when the view should zoom in and what information needs a highlight. It can also show where a title, chapter marker or short motion graphic will make the explanation easier to follow.
This is the last inexpensive place to resolve the sequence. You can review the whole video on paper, check the software workflow and make changes before screen recording and editing begin.
5. Record the screen and establish the visual style
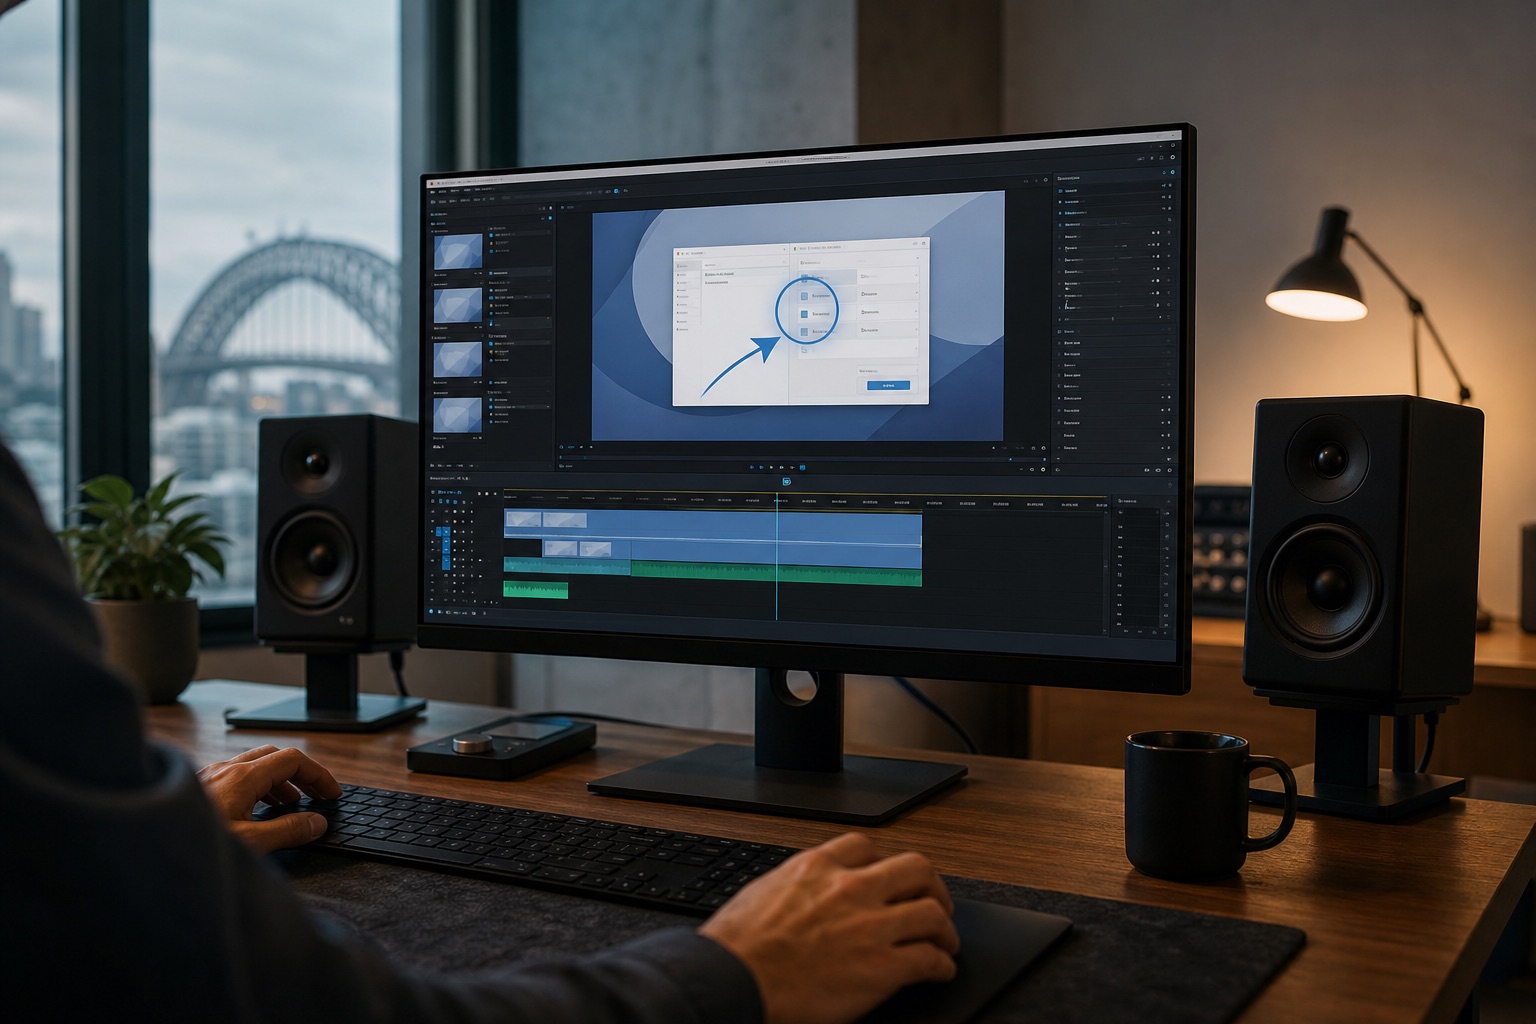
With the storyboard approved, we prepare the software and record the required actions at high resolution. This gives us room to reframe the interface and zoom into important areas without the picture becoming soft. We use clean, controlled demonstrations so the pointer, menus and page changes feel deliberate rather than rushed.
During editing, we add visual guidance where it genuinely helps the viewer:
- Zooming into the part of the interface being discussed.
- Using arrows, circles or highlights to direct attention.
- Adding concise motion-graphics text to reinforce key information.
- Creating subtle depth and movement so a static screen remains engaging.
- Removing pauses, loading delays and unnecessary pointer movement.
Rather than completing the entire video before you see the treatment, we usually produce the opening section first. Reviewing roughly the first 30 seconds lets us agree on pace, typography, colour, zoom level and graphic style. Once that visual language is approved, we apply it consistently to the rest of the video.
6. Choose and record the voiceover
We recommend a voiceover artist whose tone suits the audience and subject. A customer-facing product video may need warmth and momentum, while a procedural or compliance video may call for a calmer, more measured delivery.
Before the recording is commissioned, we send you a sample so you can confirm that the voice feels right. We then brief the artist on pronunciation, emphasis, pace and any product names or technical terms that need special attention.
The final voice track is edited and mixed with music or interface sound only where those elements improve comprehension. The narration should remain the clearest part of the soundtrack.
7. Review, refine and deliver the finished video
When the full edit is ready, we send a private review link. You and the agreed stakeholders can leave time-coded comments, and we work through the consolidated feedback until the video is approved.
Before delivery, we check the screen sequence, spelling, captions, audio balance and visual consistency. We then supply the finished files in the formats required for your website, help centre, learning platform, sales presentation or social channels.
A well-made screen capture video does more than show a sequence of clicks. It guides someone through a task at the right pace, keeps their attention on the important detail and gives them the confidence to use the product.
If you are planning a software walkthrough, product demo or online training series, tell us what the audience needs to learn. We can help shape the scope, script and production process before recording begins.